Last winter, I tried, unsuccessfully, to make homemade yeast rolls. I say "unsuccessfully" because they turned out exactly like cheap brown-n-serve rolls, except they took me all day (and 3 risings) to make.
Last weekend, I decided to keep trying until something worked. My recipe uses a method my grandmother learned in a breadmaking class 30 years ago. I chose it to start with because it is FAST (from start to baked in about 2 hours), and because it makes only one loaf (so less waste from failed experiments).
My first loaf, following the recipe & directions sort-of, was a pitiful failure. It used whole wheat flour, which made it heavy and dull. And when the instructions said "makes 2 small or one large loaf", I thought standard loaf pans were "small". Wrong. I crumbled it and dried it to put out this winter. Maybe the birds will eat it on snow days, if they get hungry enough.
So I immediately made another. This time, I tried one of the alternatives in the recipe and used plain white flour. But their idea of "enough flour" is not enough for my oven, I guess, because this loaf - although better than the first - was still too weak to reach the top of the loaf pan. More bird bread (although we did eat a few slices of this, and praised the flavor).
Paul made a couple of observations - one of which was to add more flour until the dough would have the strengh to stand up to the yeast - and I started again.
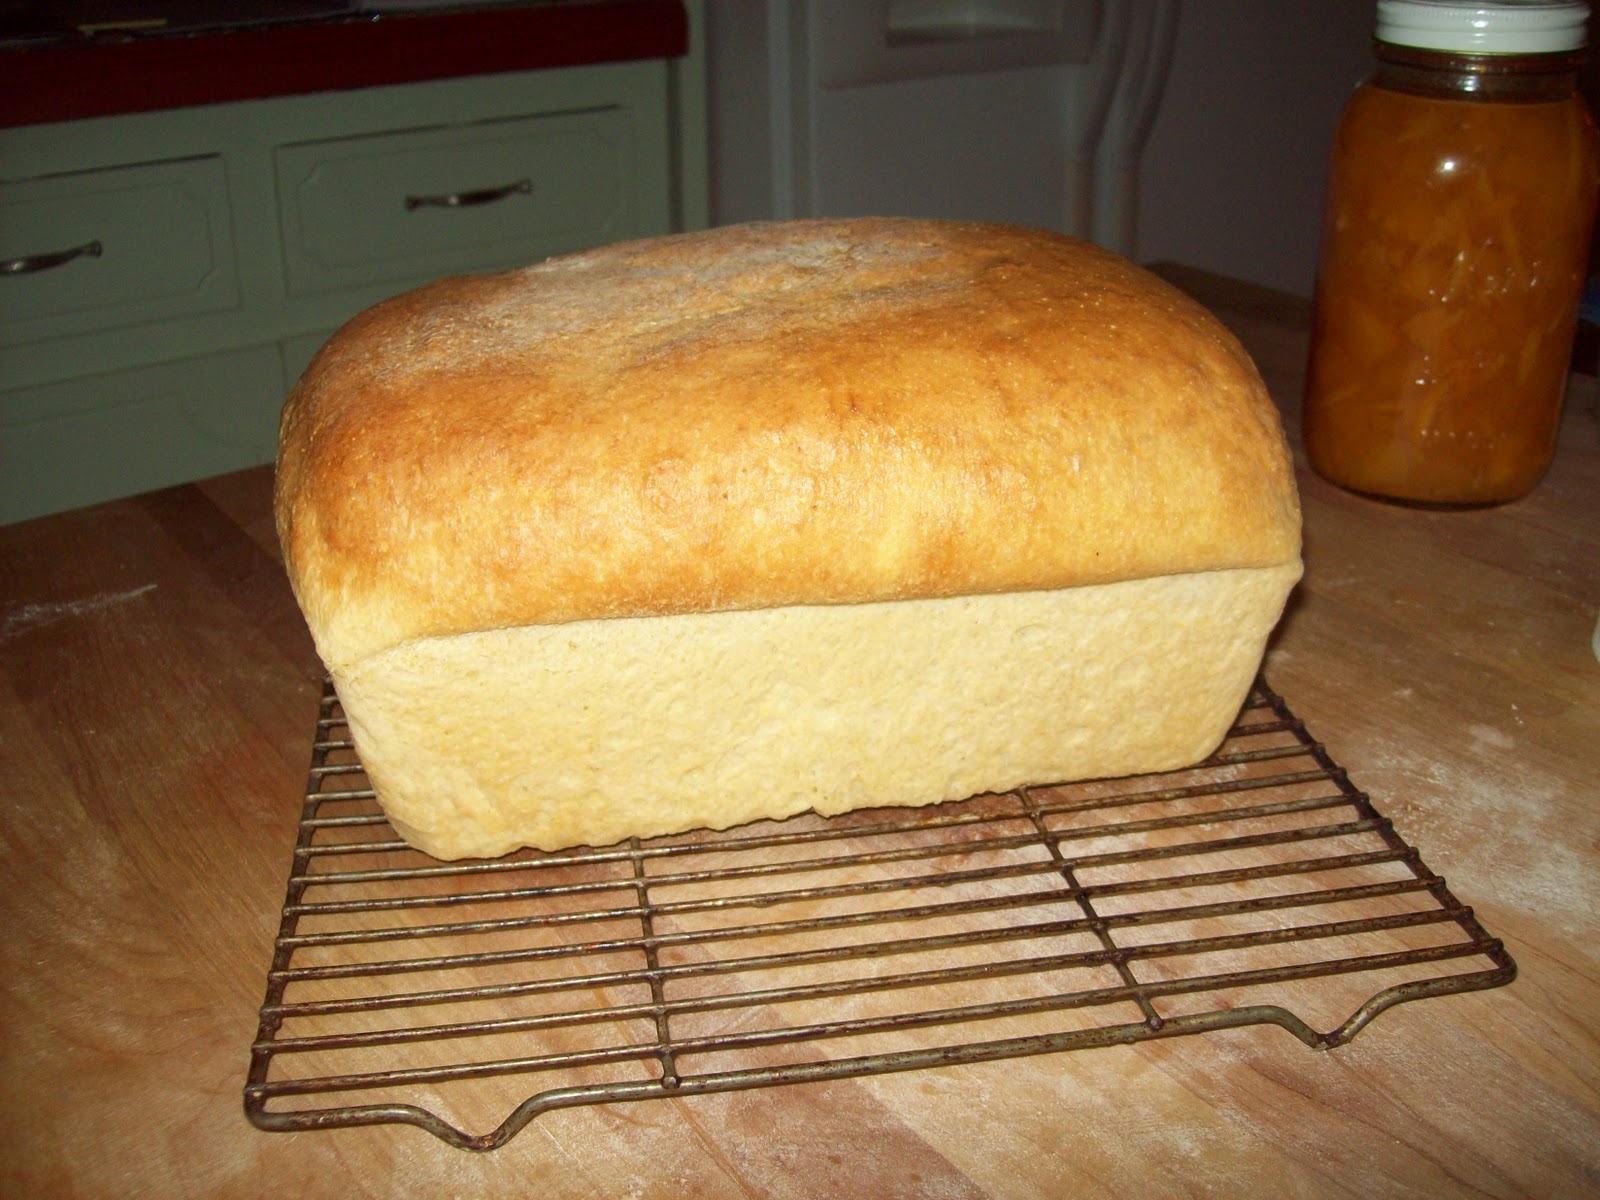
Success!!!! My husband went from amused skeptic to excited fan. He says that if I'll make a loaf of this every week, we will not need to buy bread any more. Right now, it is fun - only time will tell if it becomes a habit! But I did make another loaf, just as lovely & tasty, a few days ago, so it was not a fluke. :-)
Without buying in bulk, this bread costs about 94 cents per loaf to make (including electricity for the oven). The two most expensive ingredients are yeast and flour. If I buy yeast by the pound, and flour by the 25 pound sack, we could probably reduce that by 35 cents. Baking in a gas oven (or in, say, Idaho, where electricity costs half what it does in Texas, thanks to Federal dam projects of yesteryear), would shave another 6 cents off, bringing cost per loaf down to 53 cents.

It is simple enough that I could make a loaf after work - which is what I wanted. I simply do not have enough free time to bake, otherwise. Here's my final recipe:
One Fine Loaf
Before starting, turn oven light on, but DO NOT preheat oven. The heat from the light bulb will create a warm space for the dough to rise in.
1 1/2 Cups white flour
1/2 Cup cornmeal
1 teaspoon salt
1 "scant" Tablespoon active dry yeast (or one package)
Mix these together. Then add:
1 Tablespoon cooking oil
2 Tablespoons cane syrup or golden syrup
1 2/3 cup hot tap water (hot to touch from the faucet, ~120 degrees F)
Beat for 2 minutes with electric mixer on medium (I used Paul's Kitchenaid) or by hand - you could even use an egg beater at this stage).
Add: 1 1/2 Cups white flour
If dough is still too sticky to remove from the bowl add another 1/2 cup to 1 cup white flour. The total amount of flour may vary from day to day.
Beat with dough hooks in a Kitchenaid mixer at medium to med-high for 3 minutes. Or knead vigorously by hand (to knead by hand, turn out onto a floured surface, flour your hands and knead until smooth and elastic).
Cover with a towel and allow to rise for 20 minutes. I accidentally skipped this rise and my bread turned out fine, but it will be better with it.
Grease one loaf pan with shortening (rub the entire inside of the pan and the top edge with a light coating of hard shortening or lard).
Punch down dough, turn over, tuck edges under to put the pretty side up and drop into the loaf pan.
Set the loaf pan in the oven, close the door and leave the light on (but do not start the oven yet).
Allow to rise until top of loaf is above the top of the pan, about 1 hour.
Optional: When loaf has risen but before turning the oven on, carefully brush the top with an egg wash (mixture of raw egg and 2 tablespoons water). Don't use all the egg wash on it, just enough to dampen the top. This will give the crust a nice shine.
Put loaf in center of oven, close the door, and turn the oven on to 350 degrees Fairenheit. No preheating needed - this loaf benefits from the gradual increase in temp that occurs if it is in the oven while it is heating.
Bake for 35 minutes.
If you did not do an egg wash, brush the top crust with melted butter as soon as you take it out of the oven.
Immediately turn the pan over and remove loaf from pan. If you thump the bottom, it will sound hollow. Cool upside down on a wire rack for 5 minutes, then turn upright and let sit on rack until fully cool - or until you can't wait any longer!
If this loaf was not perfect, make another asap, and keep trying until you love the results.
While baking is a science, it's a homely one, and that means there's a bit of artistry to it as well. You can bake beautiful bread - just make it until you do!
Yum -- And I'd like some of what's planned for that big ol' stock pot, too!
ReplyDeleteThanks much! It was the first "cool" day of the autumn, so I made homemade noodles for chicken & egg noodles - so much easier than they sound!:-) How is your Fall season going?
ReplyDelete